Preparing the Chair

Before you unleash your inner artist and transform your chair with a fresh coat of paint, it’s crucial to prepare the surface for optimal adhesion. This involves sanding the chair to create a smooth surface, cleaning it to remove dust and debris, and applying a primer for a better paint finish.
Sanding the Chair
Sanding the chair is essential for achieving a smooth surface, allowing the paint to adhere properly. This step ensures a professional and long-lasting finish. Here’s a step-by-step guide:
- Start with a coarse-grit sandpaper (80-120 grit) to remove any rough spots, bumps, or imperfections. Work with the grain of the wood to avoid scratches.
- Progress to a medium-grit sandpaper (150-220 grit) to smooth out the surface and remove any remaining imperfections.
- Finish with a fine-grit sandpaper (220-400 grit) to create a super smooth surface, ready for priming.
Cleaning the Chair
After sanding, it’s important to clean the chair thoroughly to remove dust and debris. This step ensures a clean surface for priming and painting.
- Use a damp cloth to wipe down the entire chair, removing any sanding dust.
- Allow the chair to dry completely before proceeding to the next step.
Applying Primer
Primer is a crucial step in preparing the chair for painting. It acts as a barrier between the wood and the paint, improving paint adhesion and preventing the wood from absorbing the paint.
“Primer helps the paint adhere better to the wood, preventing it from soaking into the wood and resulting in a less even and less durable finish.”
Types of Primer
The type of primer you use depends on the type of wood you’re working with. Here’s a table outlining the types of primer suitable for different types of wood:
| Wood Type | Primer Type |
|---|---|
| Softwood (Pine, Fir, Cedar) | Oil-based primer |
| Hardwood (Oak, Maple, Cherry) | Water-based primer |
| Painted Wood | Adhesion primer |
Choosing and Applying the Paint

Choosing the right spray paint for your wooden chair is important to ensure a durable and aesthetically pleasing finish. You’ll want to consider the type of paint, the color, and the finish you desire.
Types of Spray Paint
Spray paint comes in various types, each suitable for different purposes.
- Acrylic spray paint is a popular choice for wooden chairs because it dries quickly, is water-based, and offers good adhesion. It’s also available in a wide range of colors and finishes.
- Epoxy spray paint is known for its durability and resistance to moisture, making it ideal for outdoor furniture or high-traffic areas.
- Lacquer spray paint provides a glossy finish and excellent protection against scratches and UV damage. However, it can be more difficult to apply than other types of spray paint.
Choosing the Right Color and Finish
The color and finish of your spray paint will significantly impact the final look of your chair. Consider the style of your chair, the existing decor of your space, and your personal preferences.
- Color: Choose a color that complements the existing furniture in your space or creates a desired contrast. For example, a bright color can add a pop of energy to a neutral room, while a darker color can create a more sophisticated atmosphere.
- Finish: The finish refers to the sheen of the paint, which can range from matte to gloss. Matte finishes provide a more subtle and understated look, while gloss finishes create a more reflective and polished appearance.
Applying Spray Paint
Applying spray paint to a wooden chair requires a steady hand and some practice. Here’s a detailed guide to help you achieve a smooth and even finish:
- Prepare your workspace: Choose a well-ventilated area, preferably outdoors or in a garage. Cover the surrounding area with drop cloths or plastic sheeting to protect it from overspray.
- Shake the spray paint can vigorously: Shake the can for at least one minute to ensure the paint is evenly mixed.
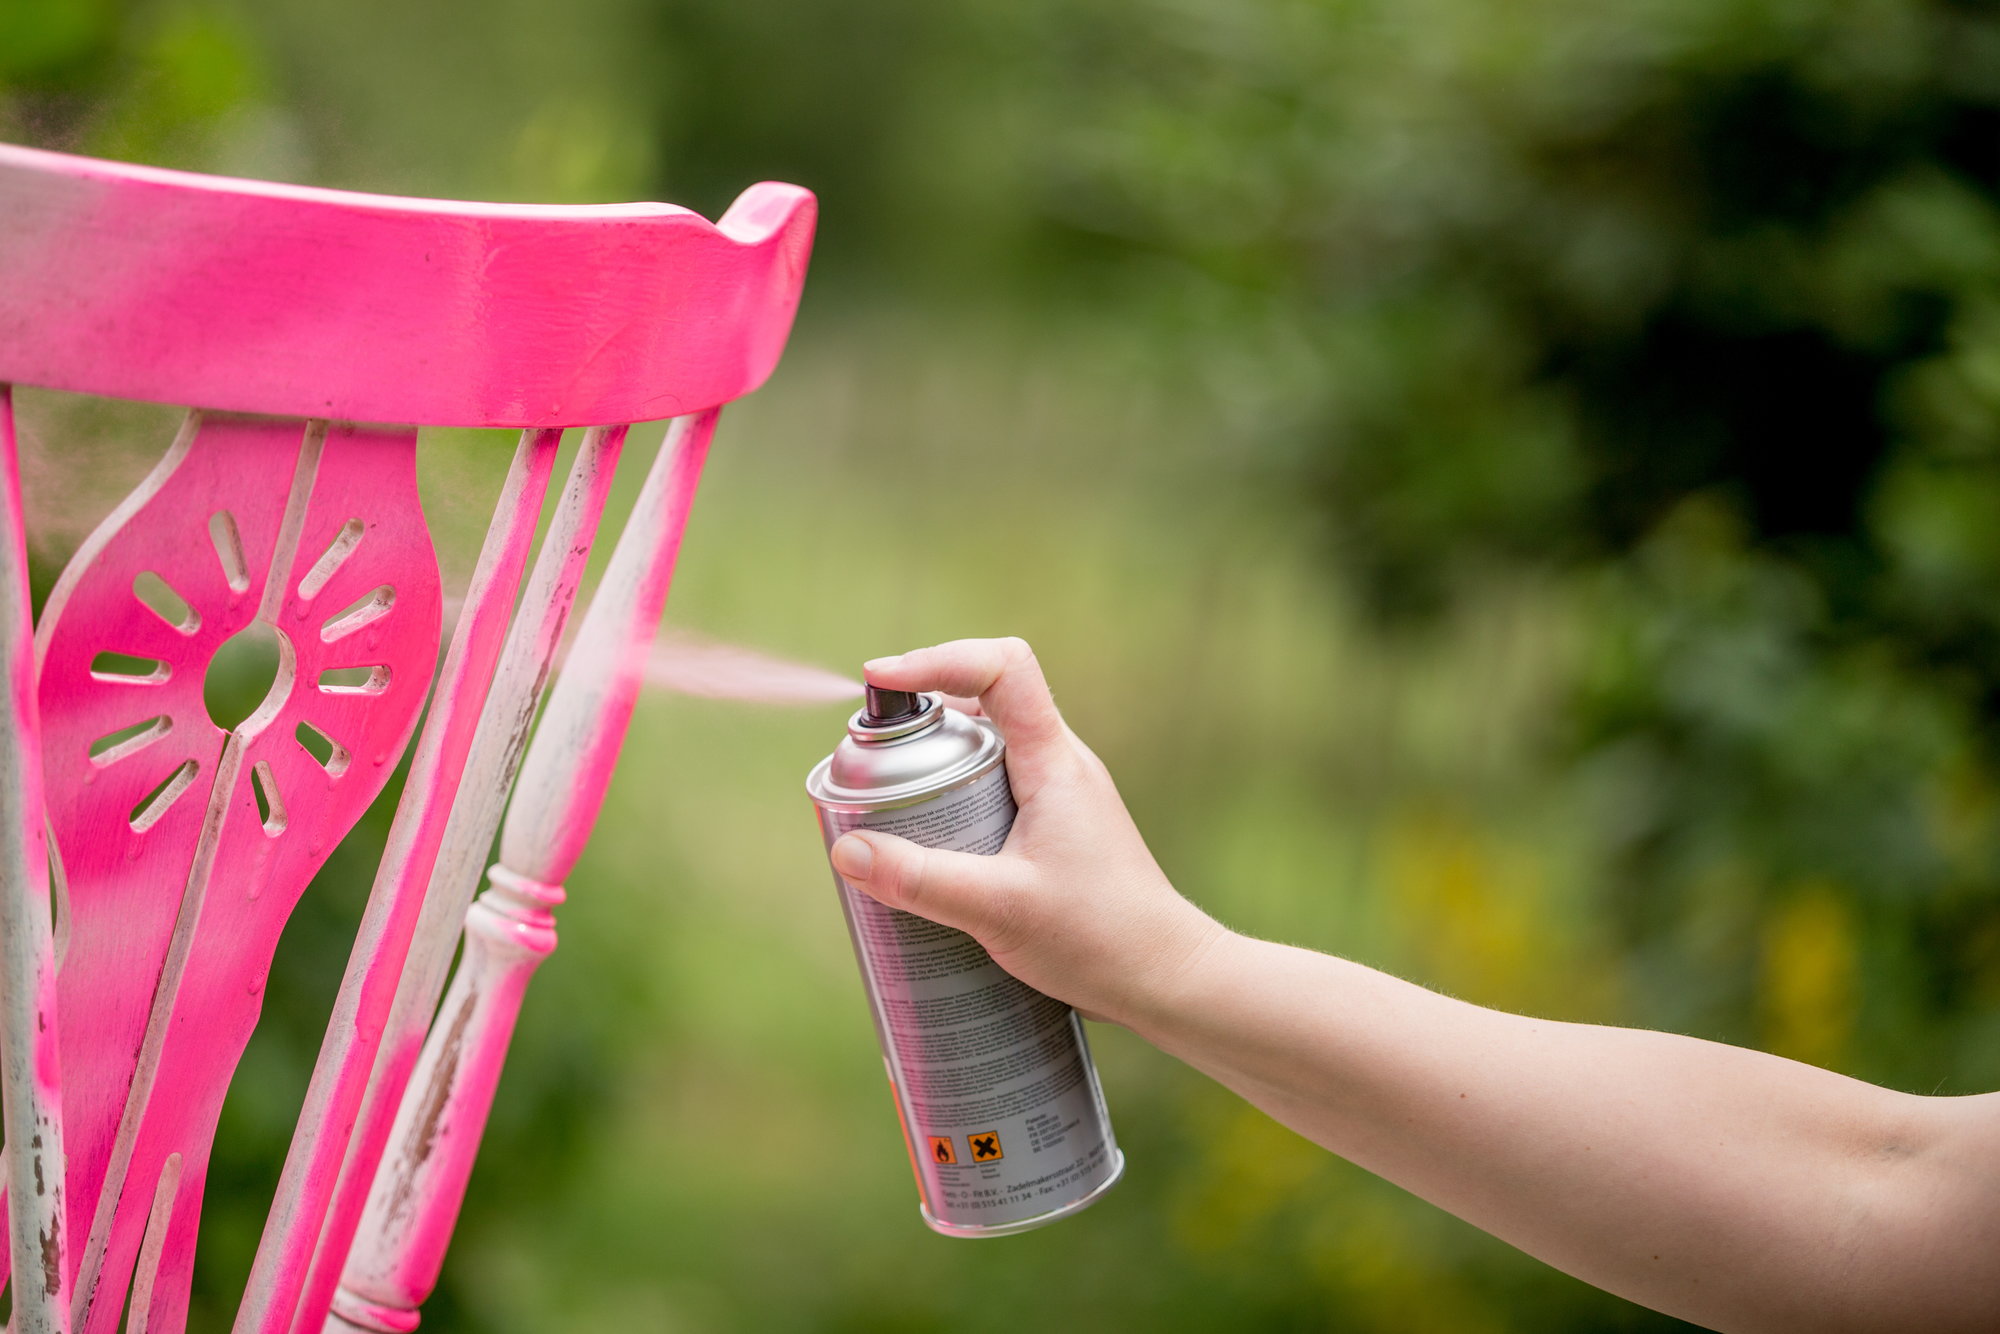
- Start with a light, even coat: Hold the can about 12 inches away from the chair and apply a thin, even coat of paint. Overlapping each stroke by about 50% helps to prevent streaks.
- Let the paint dry completely: Allow the first coat to dry completely before applying subsequent coats. Drying times vary depending on the type of paint and the temperature and humidity.
- Apply multiple thin coats: It’s always better to apply multiple thin coats than one thick coat. This helps to prevent drips and runs, resulting in a smoother finish.
- Use masking tape to protect areas you don’t want to paint: If you need to protect specific areas of the chair, such as the seat or the legs, use masking tape to cover those areas.
- Let the paint cure: Once all the coats have dried, allow the paint to cure completely. This usually takes 24-48 hours.
Finishing Touches: How To Spray Paint A Wooden Chair

After all that hard work, you’ve got your chair looking fresh! But before you start showing it off, there’s one important step left: letting the paint dry completely.
You’ll want to give the paint enough time to harden and set. Otherwise, you risk smudging the paint and messing up your beautiful work. Once it’s dry, you can give your chair a little extra love with a sealant or varnish.
Protecting Your Painted Chair, How to spray paint a wooden chair
A sealant or varnish adds an extra layer of protection to your chair, making it more resistant to scratches, spills, and wear and tear. There are a few different types of sealants, each with its own properties.
| Sealant Type | Properties |
|---|---|
| Polyurethane | Durable, water-resistant, and provides a glossy finish. |
| Acrylic | Easy to apply, dries quickly, and comes in various finishes, including matte, satin, and gloss. |
| Wax | Provides a natural finish, enhances the wood’s grain, and is easy to apply. |
For example, if you’re planning on using your chair outdoors, you might want to choose a polyurethane sealant for its extra protection against the elements. If you’re looking for a more natural finish, a wax sealant might be a better choice.
Cleaning Up and Disposal
After you’ve finished painting and sealing your chair, it’s time to clean up your spray paint equipment.
- Start by rinsing the spray paint can with water.
- Then, remove the nozzle and clean it thoroughly with a brush or a cloth.
- Finally, dispose of the spray paint can and any other leftover materials properly.
You can check with your local recycling center for instructions on how to dispose of spray paint cans safely.
Visualizing the Process
Imagine you’re standing in front of your wooden chair. First, you’ll need to prep the chair by sanding it down and cleaning it with a damp cloth. Then, you’ll use painter’s tape to protect any areas you don’t want to paint. Now, you’re ready to spray paint the chair! Hold the spray can about 12 inches away from the chair and apply even coats, moving the can in a smooth, back-and-forth motion.
Once the paint is dry, you can add a sealant or varnish for extra protection. Finally, you’ll clean up your spray paint equipment and dispose of the materials properly.
Your chair is now ready to be enjoyed!
How to spray paint a wooden chair – Yo, wanna make your old wooden chair look fresh? Spray paint is the way to go, man. But if you’re thinking about little ones, check out this montessori weaning chair & table set for when they’re ready to eat like big kids.
Anyway, back to that chair, make sure you use a primer before you hit it with the spray paint, you know, for that smooth finish.
Yo, so you wanna spray paint your wooden chair, right? Make sure you prep it first, sand it down, and mask off any areas you don’t want to paint. But if you’re looking for something new for your little one, check out this baby table chair set in Pakistan guide.
Once you’re back to your chair, use even coats and let it dry properly before you start using it. You’ll be rocking that new look in no time!
